

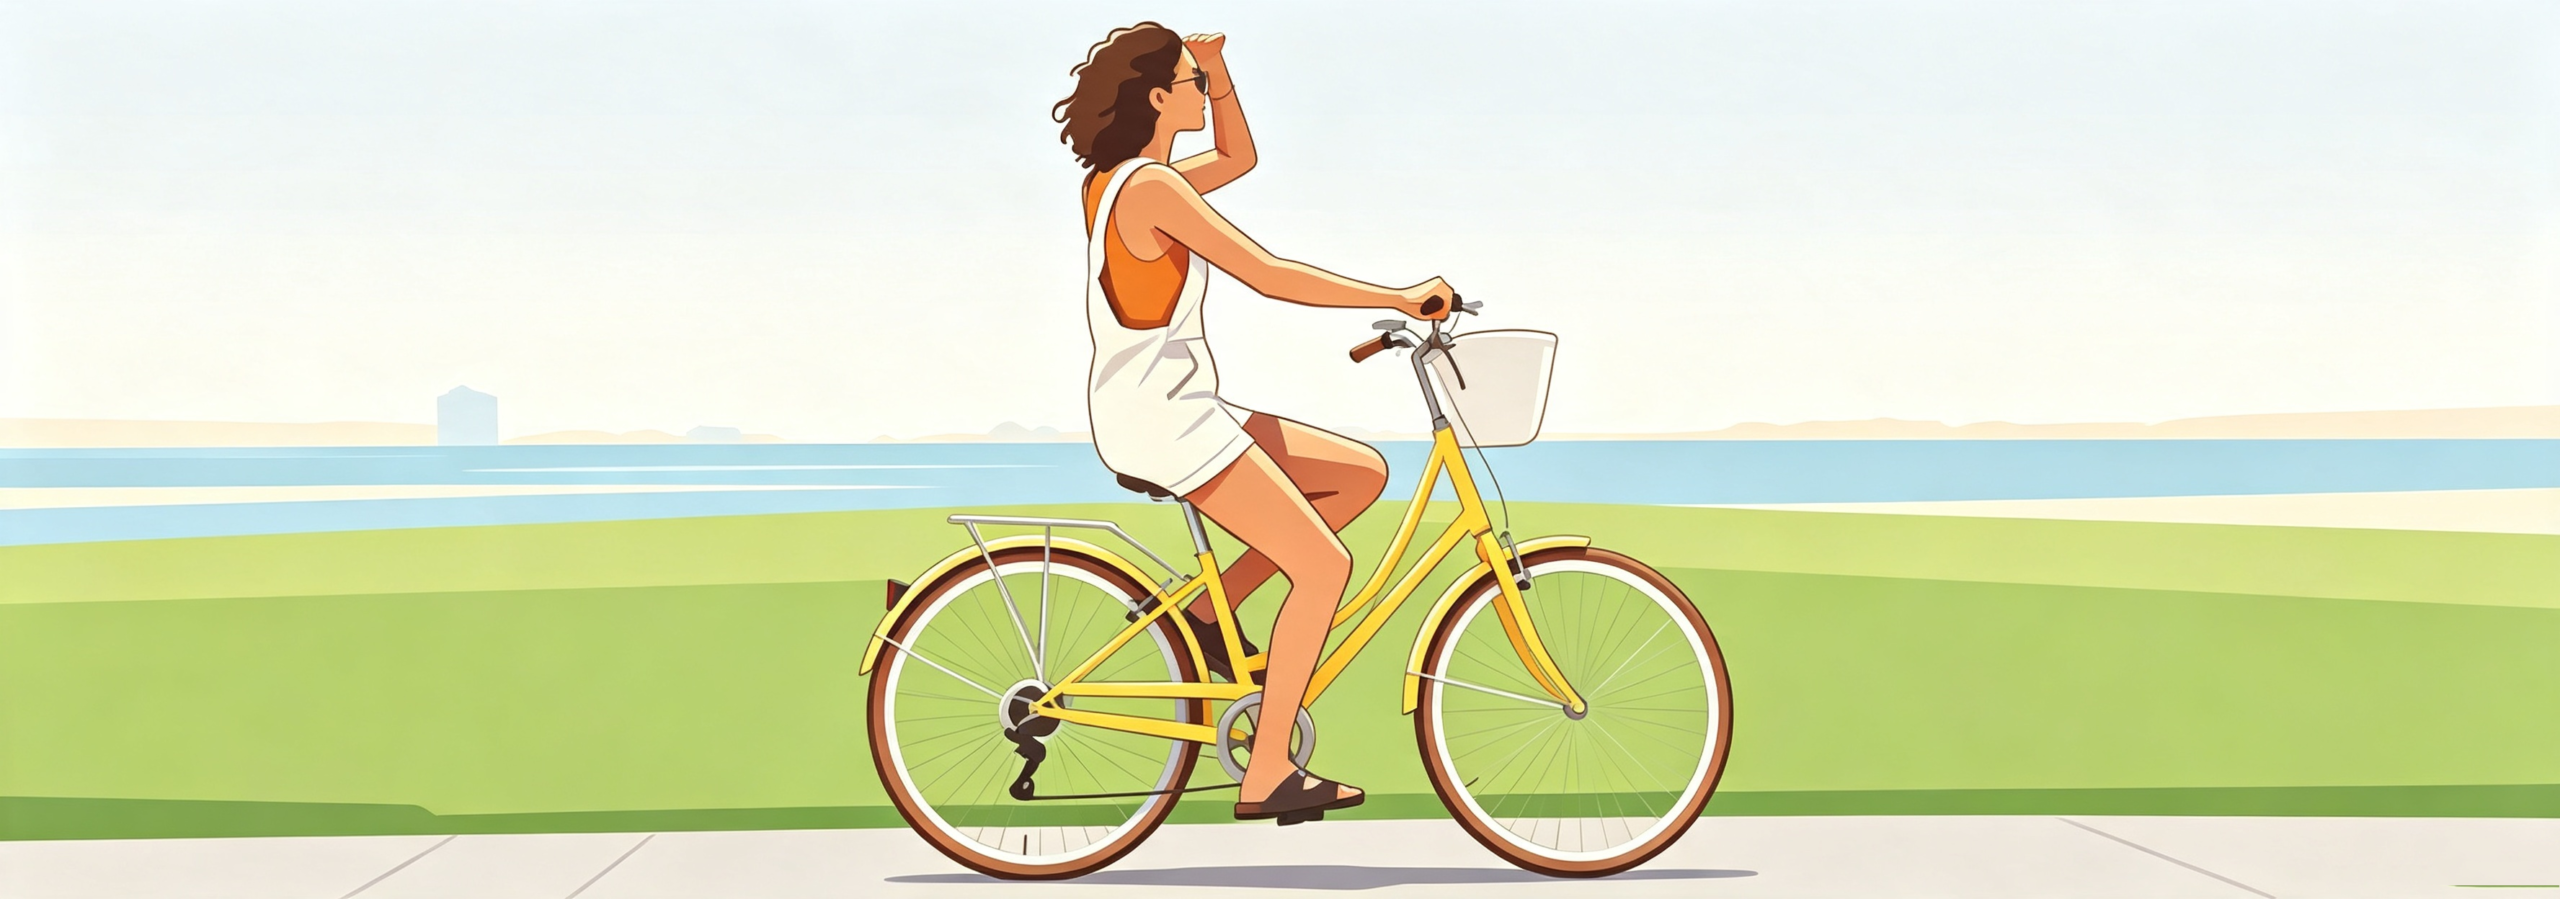
Learn the Basics, Build Your Skills, and Enjoy Your First Real Ride
Learning to ride a bike is one of those milestones that feels both thrilling and a little intimidating—whether you’re an adult trying it for the first time or a parent teaching a child. But here’s the good news: with the right preparation and a bit of patience, almost anyone can master it.
A bicycle isn’t just a way to get from point A to B. It’s freedom—to explore your neighborhood, skip traffic, stay fit, and breathe fresh air. This guide walks you through every step, from picking the right bike to balancing, pedaling, braking, and even tackling your first turns. We’ll also cover common pitfalls and safety habits so you can ride with real confidence.
Step 1: Pick the Right Bike and Set It Up for You
Before you even think about pedaling, make sure your bike actually fits you. A frame that’s too big or too small makes balancing unnecessarily hard and drains your confidence fast.
Get the Size Right
Sit on the saddle and check these three things:
- Your feet should touch the ground—at least your toes or the balls of your feet should reach comfortably. This gives you a secure starting point.
- Your knees should have a slight bend when one pedal is at the lowest point. If your leg is fully straight or overly bent, adjust the saddle height.
- The handlebars should feel natural—you shouldn’t have to stretch forward or sit too upright. Your elbows and shoulders should stay relaxed.
If you’re unsure, visit a local bike shop for a quick fitting. It’s worth the few minutes.
Do a Pre‑Ride Safety Check
Get into the habit of a quick once‑over before every ride:
- Tire pressure – Squeeze the tires; they should feel firm but not rock‑hard. Proper pressure gives you better stability, easier rolling, and fewer flats. Use a pump with a gauge and follow the PSI number printed on the tire sidewall.
- Brakes – Squeeze both brake levers while walking the bike forward. The wheels should slow down or stop. Never grab them suddenly—practice squeezing gradually.
- Saddle height – Sit on the saddle and place your heel on the pedal at the lowest point. Your leg should be straight. When you switch to the ball of your foot, that gives you the perfect slight knee bend for efficient pedaling.
Step 2: Master Balance Before You Ever Pedal
This is the single most important skill—and the one most beginners skip. Don’t rush to the pedals. First, learn to glide.
The Gliding Drill (It’s Like Scooting)
Find a flat, open, and traffic‑free area. Good options in the U.S. include:
- An empty school parking lot on weekends
- A quiet cul‑de‑sac
- A smooth park trail early in the morning
Then:
- Lower the saddle so both feet can rest flat on the ground.
- Sit on the bike and push off with your feet, like you’re on a kick scooter.
- Once you get a little speed, lift both feet off the ground—just an inch or two—and let the bike roll.
- Feel how the bike naturally wants to stay upright when it’s moving. That’s the gyroscopic effect working for you.
Repeat this until you can glide for at least 30 feet without putting a foot down. You’ll be amazed how quickly your body learns to correct small wobbles.
Look Where You Want to Go—Not at the Wheel
The #1 rookie mistake is staring down at the front tire. Your bike follows your eyes, so:
- Keep your gaze 10 to 15 feet ahead on the path.
- Relax your shoulders—drop them away from your ears.
- Hold the handlebars lightly, as if you’re gripping a banana you don’t want to bruise.
When you look ahead, your balance improves automatically. Trust it.
Step 3: Pedaling, Braking, and Steering—Putting It All Together
Once gliding feels natural, it’s time to add pedals.
Start Smoothly
Place one foot (your dominant one) on a pedal set at about 2 o’clock (slightly above horizontal). Keep the other foot on the ground.
- Push down firmly but gently on that high pedal, and as the bike moves forward, bring your other foot up to the opposite pedal.
- Begin pedaling in full circles. Don’t stomp—imagine you’re spreading butter on toast, smooth and even.
- Speed will come later; for now, focus on continuous, controlled rotations.
Braking: Your Best Friend and Safest Habit
Practice braking before you need it in traffic. Find a clear stretch and do this:
- Use both brakes together, but apply more pressure to the rear brake at first. A good rule of thumb is 60% rear, 40% front for beginners, gradually shifting to 70% front as you gain confidence.
- Squeeze progressively—not all at once. Feel the bike slow down, then add more pressure.
- Never grab the front brake hard while turning or at high speed—that’s a recipe for going over the bars.
A fun drill: set a marker (like a water bottle) and practice stopping exactly beside it. This builds your sense of braking distance.
Turning: Let Your Eyes Lead
Once you can ride straight for 100 yards, try gentle turns.
- Start with wide, sweeping curves at low speed.
- Look into the direction of the turn—aim for the exit point.
- Lean your body slightly into the turn; don’t just twist the handlebars.
- As you complete the turn, straighten your gaze forward and the bike will self‑correct.
Practice figure‑eights in a parking lot—they’re the best way to get comfortable with leaning and steering.
Common Newbie Mistakes (and How to Fix Them)
| Mistake | Why It Happens | The Fix |
|---|---|---|
| Death grip on the bars | Nerves make you tense up, which actually amplifies every bump. | Loosen your fingers, bend your elbows, and steer more with your hips and core than your arms. |
| Pedaling too hard from a stop | You think speed equals stability, but it just makes the bike lurch. | Use the “one‑two” start: push, then place the other foot, then pedal gently. |
| Staring at the ground | Fear of falling keeps your eyes down, but that makes you more wobbly. | Every few seconds, say “eyes up” to yourself until it becomes a habit. |
| Braking only with the rear | You’re scared of the front brake, but that alone can cause skids. | Practice “two‑finger braking” using both levers with your index and middle fingers. |
| Turning too slowly | You slow down so much that you lose balance mid‑turn. | Remember: speed is your balance buddy. Enter a turn with a little momentum, and pedal gently through it. |
How Long Does It Really Take?
There’s no one‑size‑fits‑all answer—and that’s okay.
- Some people get it in a single afternoon.
- Others need three or four short sessions (20–30 minutes each) over a week.
What matters most is:
- Practicing a little every day (daily 15‑minute sessions beat a marathon 2‑hour session once a week).
- Staying relaxed—if you feel frustrated, take a break.
- Celebrating small wins—like gliding 10 feet farther than yesterday.
Don’t compare yourself to others. Your only competition is your own previous attempt.
Safety Essentials for Every Ride
Once you’re ready to leave the parking lot, these habits become non‑negotiable:
1. Helmet – Always, No Exceptions
- Wear it level on your head, about two finger widths above your eyebrows.
- Adjust the side straps so they form a “V” under your ears.
- Buckle it snugly—you should be able to fit one finger between the strap and your chin.
- Replace your helmet after any crash, even if it looks fine.
2. Road Awareness (U.S. Specific)
- Ride with traffic (on the right side of the road).
- Obey stop signs and traffic lights—bikes are vehicles, too.
- Use hand signals: left arm straight out for a left turn, left arm bent up for a right turn, or right arm straight out (also acceptable in many states).
- Make eye contact with drivers at intersections whenever possible.
3. Carry These Basics for Any Ride Over 3 Miles
- A water bottle (in a cage)
- Your phone and an ID
- A mini pump or CO₂ inflator, a spare inner tube, and tire levers (learn how to change a flat—it’s easier than you think)
- A front white light and a rear red light, even during daytime—they make you much more visible
4. Dress for the Ride
- Avoid loose pants legs—tuck them into your sock or use a strap.
- Wear closed‑toe shoes with non‑slip soles; tie those laces short.
- On hot days, use sunscreen and sunglasses; on cool days, layers that you can unzip.
Beyond the Basics: Explore Different Styles of Riding
Once you’re comfortable cruising for 5–10 miles, you might want to specialize. Here are the most popular types in the U.S.:
- Road Cycling – Lightweight bikes with skinny tires, curved drop bars, and an aerodynamic position. Great for fitness, group rides, and covering long distances on pavement. Join a local club to learn pace‑lining and drafting.
- Mountain Biking – Sturdy frames, knobby tires, and suspension for trails, dirt, and rocks. Start on “green” (easiest) trails and learn to shift your weight back on descents.
- Gravel Cycling – The fastest‑growing segment in America. It’s a hybrid of road and off‑road—perfect for exploring unpaved country roads, rail trails, and forest service roads without needing a full‑suspension bike.
- Commuting – Add fenders, a rack, and panniers to turn any bike into a practical daily driver for work or errands.
No matter which path you choose, there’s always more to learn—cornering techniques, emergency swerves, riding in groups, and even basic maintenance. Take it one step at a time.
Final Thoughts: Cycling Is a Gift You Give Yourself
Riding a bike is about so much more than balance and pedaling. It’s about overcoming that little voice that says “I can’t,” and replacing it with the pure joy of rolling down a quiet street with the wind in your face.
Every wobble, every false start, every near‑stop is teaching your brain and body something valuable. Be patient with yourself. Laugh at your own teetering moments. And when you finally make that smooth turn or ride a full mile without stopping, take a moment to savor it—you earned it.
So pick your bike, adjust that saddle, lift your eyes to the horizon, and give that first pedal a gentle push. The world is waiting for you, two wheels at a time.
Happy riding—and stay safe out there!
